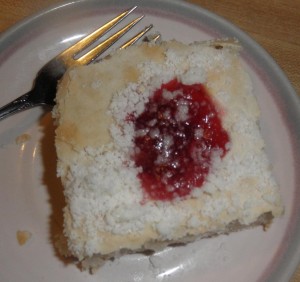
Hi, everyone; normally you’d get Jocelyn this week, but seeing how she’s just moved to Seattle and is still in the long, nebulous, physically exhausting process known as “settling in,” you get me instead. (I find that an interesting commentary on how hard it is to move cross-country — it’s easier to post with a newborn than when you’re moving. Go figure.)
Kolaches. Mmmmm. So my first instinct was to tell you all about the time Sean and I introduced Jocelyn to kolaches, but then I realized she already told you, and went on at great length about what kolaches are and such to boot, so I’ll let you read her excellent introduction there rather than repeat it feebly myself except for one key point — you can fill kolaches with sooo many things that I don’t even give any recipes here. You can find filling recipes everywhere on the internet, and they don’t generally require flour as near as I can tell, so they don’t need to be adapted; in a pinch, just do like I have in the pictures below and use some canned pie filling.
You can’t really find kolaches in New Mexico, where I grew up, so when I was a child we only had them when we visited my grandparents in Houston during the summer. I’d drag myself out of bed one sleepy morning, early by my standards at least, only to discover Daddy had already ventured out into the wild (sub)urban environment and back, box full of kolaches in hand for everyone to share. Of course, when I was that little I had many, many objections to eating things I wasn’t already completely familiar with, especially things with funny textures, so I usually took a blueberry kolache (the flavor I deemed least dangerous) and ate the tasty sweetbread and topping, carefully picking around the dubious filling in the center. This was of course little me being a paranoid dumbass, as in the process I missed out on the most fantastic part of the kolache.
Once we moved to Texas ourselves, and I was older, kolaches of course appeared in the household much more often and in much greater quantities — Daddy tends to overshoot when it comes to how many a group of people will go through, but hey, more leftovers — and at some point I started eating the whole kolache and liking it a lot. That meant when it came time for us to go gluten-free, kolaches were one of the first things I started work on reproducing. That was two years ago, give or take, and I’ve finally produced a kolache bread that’s just perfect (at least, for fillings that go on top of the kolache). So, here you go! There’s a lot of pictures in this one, but it’s worth it. Happy kolache-eating!
Yield: 9 kolaches
Ingredients:
- 2 1/2 tsp yeast
- 1 cup warm water
- 2 tsp sugar
- 2 cup + 2 T dough mix
- 1 tsp egg replacer mix
- 1/3 cup sugar
- 1/2 tsp xanthan gum
- 1 T powdered dry milk
- 1 tsp salt
- 2 T oil
- 2 tsp imitation butter extract
- for topping: 1 T butter, 2 T sugar, 2 T sweet rice mix
Directions:
1. First, you make the dough and get it rising. In a small bowl, combine the yeast, warm water, and 2 tsp sugar; set it aside and let it proof 5 minutes or so, or until bubbly.
 |
 |
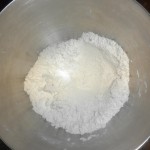
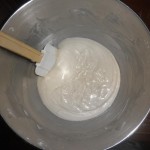
2. Meanwhile, in a stand mixer bowl, combine the dry ingredients: dough mix, egg replacer mix, 1/3 cup sugar, xanthan gum, powdered dry milk, and salt. Mix thoroughly, then add the oil and imitation butter extract, and mix again until completely smooth. Scrape down the sides of the bowl with a soft spatula a few times to make sure it’s all integrated properly.
 |
 |
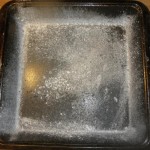
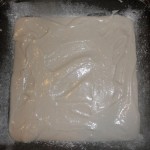
3. Next, preheat the oven to just warm, and grab a 9x9x2″ pan, and a wider, shallower pan of your choice. Fill the wide, shallow pan with warm water and put it on the bottom rack of the oven; the purpose of this pan in the warm oven is to create a moist, warm environment that’ll encourage your otherwise-recalcitrant kolache dough to rise well. Trust me, it’s just easiest to do it this way. Then, grease the 9x9x2″ pan and “flour” it with dough mix, then spoon the dough from the stand mixer bowl into the pan and smooth it out so it covers the entire pan evenly. Put the pan into the warm oven to rise, for about 75-90 minutes.
 |
 |
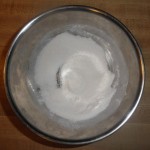
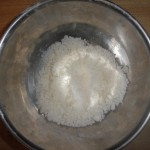
4. While the dough’s rising, you can go ahead and make the topping (and the filling, if you’re making it too). For the topping, combine the 2 T sugar and 2 T sweet rice mix in a small bowl, then use a fork to cut in 1 T butter. Use your fingers to work the butter completely into the dry mixture, until you have a nice, even crumble.
 |
 |
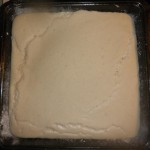
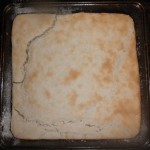
5. Once the dough’s risen until it’s filled 2/3 to 3/4 of the pan (the surface of the dough will form cracks), take it and the warm water tray out of the oven. (Be careful handling them; even in an oven that’s “just” warm, they’ll be pretty hot to the touch.) Preheat the oven to 400 degrees Farenheit, then put the dough back in to parbake at that temperature for 15 minutes, then take it back out again (but leave the oven on).
 |
 |
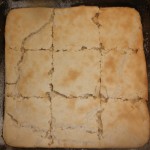
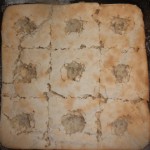
6. Now it’s time to do a little surgery on the parbaked dough. We have a solid layer of bread; we need individual pieces, and with divots in the top for the filling, to boot. So, take a knife and gently cut the bread into nine pieces, like you would brownies. Then, with either a knife or, as I like to use, a grapefruit spoon, cut a divot into the top of each resulting square. (If you screw up and your divot cuts all the way through the bread, just take some of the bits you cut out and press them into the bottom of the divot.)
 |
 |
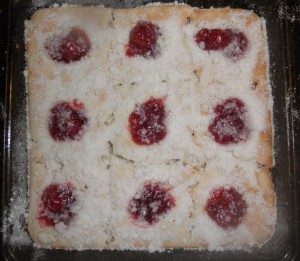
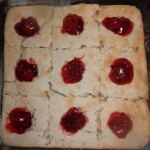
7. Take the filling and spoon about a tablespoon at a time into each of the divots. Then, take the topping and sprinkle across the top of the bread, filling and all. Cover the whole pan with foil so it won’t over-brown, then put it back in the hot oven for 7-8 minutes.
 |
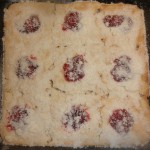 |
8. All done! Baked to perfection. Serve and enjoy!
