Sorry this is late–we had a housewarming party this weekend and it ate a ton of time! However, before she left for home earlier this week, Jennifer and I finally did our “combine the cinnamon rolls” project we’ve been talking about for so long. It was actually kinda funny to make a dish and then all three of us (me, Sean, Jennifer) sit down and eat it–that doesn’t happen much any more, and almost NEVER with a dessert. Sean and Jennifer both commented on that as we ate our way through the experiments, in fact.
Now, this is pretty different. Some small changes had to be made to the dough in order to make it sugar free, and I had to reinvent the filling because baking stevia is not guaranteed GF (if you’re just gluten intolerant it’d probably be fine, as there is no actual gluten added to it, but it isn’t safe enough if you are Celiacs and need to avoid gluten on literal pain of death). The new filling turned out great, though, so good that I may just make it the new filling recipe entirely! Sean really likes the gooey-er texture, and I’m enjoying the added raisins. The topping has had milk added because the GF dough can’t handle vigorous spreading quite as well as a gluten-y dough, so it needed to be more spreadable. As with the prior topping, the spreadability and sweetness are very much “to taste.” These are our preferences listed here. Without further ado, here’s the recipe!
Safe-for-the-Crowd Cinnamon Rolls
Ingredients:
for the dough:
- 1 tsp molasses
- 2 1/2 tsp yeast
- 2/3 cup hot water
- 2 T butter, softened
- 3 TBS Truvia
- 1 egg
- 1/4 cup oil
- 1 3/4 cups dough mix
- 2 tsp xanthan gum
- 3/4 tsp guar gum
- 1/4 tsp baking soda
- 2 tsp baking powder
- 1/2 tsp salt
- 1 tsp vanilla
- 1/3 c Truvia
- 1 1/2 tsp molasses
- 1/3 cup walnuts
- 1/4 cup raisins
- 1 3/4 tsp cinnamon
- 1/4 tsp nutmeg
- 4 oz cream cheese, softened
- 4 tsp butter, softened
- 3/4 tsp vanilla
- 1 tsp Truvia
- 1 1/2 TBS milk
Directions:
1. An hour or so before you start, set butter and cream cheese out to soften. Once they’re soft enough to cream, preheat the oven to 375 degrees and grease an 8×8 pan (or I suppose you could use a pie dish or cake pan, but I use a square one).
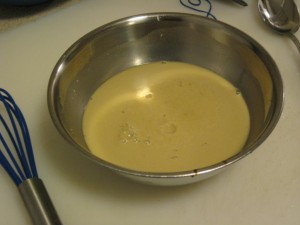
2. First, to put together the dough! Combine 1 tsp molasses, the yeast, and the hot water in a small bowl and set aside to proof.
 |
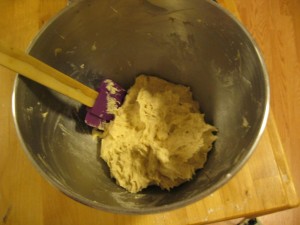
3. In the bowl of a stand mixer, first cream the softened butter just a little so it’s not just one lump. Then add the rest of the dough ingredients while the yeast mixture proofed, adding it last. The resulting dough should come together nicely, and take on a shape when squished into one, but still be very soft and sticky. If you’re comparing this the original recipe, it may seem a bit stickier–there is molasses in it now, after all.
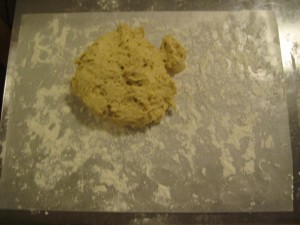
4. Take a rectangle of wax paper, maybe twice as long as it is wide; grease it lightly, then “flour” it generously with dough mix. You’ll also want to get a rolling pin and flour that. This is a deviation from the methodology of the original dough. This dough, for one reason or another, does not require the extra wax paper layer to roll out properly.
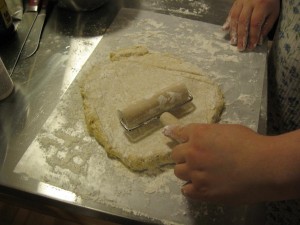
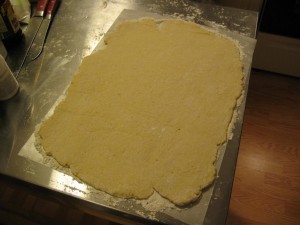
Roll the dough out into a flat, thin rectangle: put the dough on one piece of prepared wax paper, dust the top of the dough generously with dough mix, then roll it out. Use the rolling pin on the dough, through the top piece of wax paper, to gently roll the dough out into a rectangle, like so:
 |
 |
Leave the dough rectangle there for now.
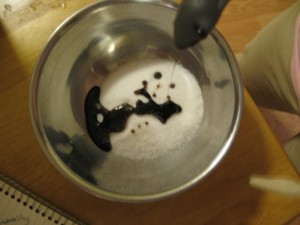
5. Now for the filling. Put the Truvia in a small bowl. Drizzle the molasses on top. Mash this all around with a fork until the molasses is absorbed/squished into the Truvia. You are functionally creating “safe” brown sugar. Once that is done add the rest of the ingredients and mix well to combine.
 |
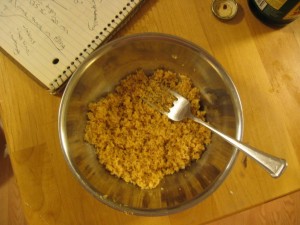 |
6. Spread the filling across your dough rectangle leaving a small margin at the edge. Now, pick up one side of the wax paper, and lift it slowly, letting the weight of the dough roll it up into a log. Have a soft spatula on hand to encourage it to come up off the wax paper if necessary. The key thing is to be patient, especially if the dough’s a touch too sticky. This is easier with two people, but can be done with one.
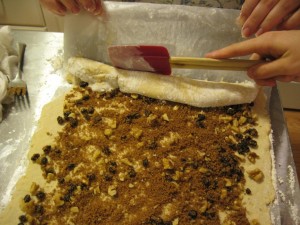 |
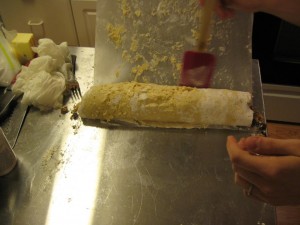 |
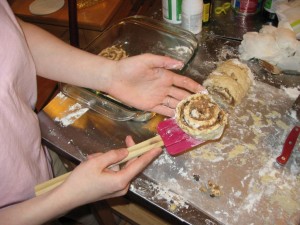
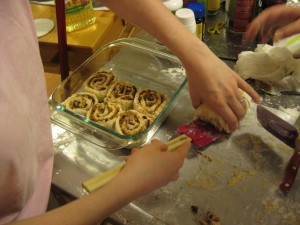
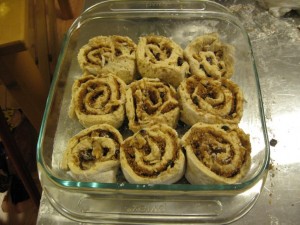
7. Finally you can cut the log into individual cinnamon rolls and move them to the pan. This is probably the part of the operation that’s easiest to screw up if you’re not careful — the log may look snug and solid, but it’s really just a spiral of dough that isn’t stuck to itself thanks to the filling in between! No worries, though: You’ll want a wide knife that can help you move each cinnamon roll, and that soft spatula, too. Use the soft spatula to get under each piece of the log before you cut it, then turn the knife and spatula at the same time so that the dough goes from resting on the spatula to resting on the flat of the knife. Move that into the greased pan.
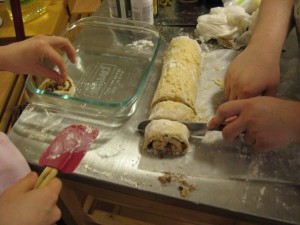 |
 |
 |
 |
8. The topping is pretty standard: clean out your stand mixer bowl and put on the whisk attachment if you have one. Cream together the cream cheese and butter, then add the vanilla, then add the Truvia, then the milk until the topping is the desired spreadability.
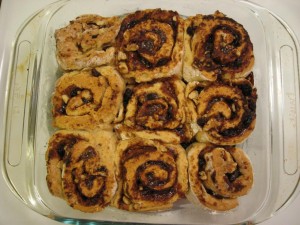
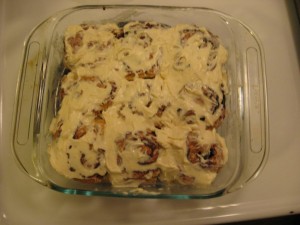
9. Once the rolls are baked let them cool for a few minutes, then frost them warm (not piping hot, it makes everything soggy). These are not burned in the picture, the molasses just has a tendency to bubble up on the edges of the rolls. Don’t let that fool you as they’re baking; they may look brown on the edges of the filling before they’re quite done. Once they are done, though, enjoy!
 |
 |

Leave a Reply