Subbing in for Jocelyn again! I’ll let you read last post’s commentary on moving between states to fill you in.
Two years ago, practically to the day, I got diagnosed with celiac disease; and that’s when I started working on making pasta. As I’ve mentioned before, my last “glutinous” meal was cheese ravioli, salad, and breadsticks at Olive Garden, and I’ve been set on recreating it since then; now all that’s left to go is the croutons, I suppose!
Pasta is almost certainly my favorite food in the universe. My sister and I would just eat plain spaghetti whenever we wanted a snack, and my mother used to be flabbergasted that as a kid I could get home from school, run through the house, and without going through the kitchen know by the distinctive smell of the brand of pasta she was boiling if it was macaroni for macaroni and cheese or spaghetti or rotini she was boiling in that pot. 🙂 I never liked spaghetti sauce, but who needed it when there was parmesan cheese in the world? It was cheap, it was easy, it was delicious. And then, suddenly, it was gone.
Store-bought gluten-free pasta just never cut it for me: Quinoa pasta is edible, but only when you boil it longer than the package directions say to, and then only for the first four minutes after you tump it out of the pan and into the colander — and if you want it to keep in a casserole, yeah right. Rice pasta? corn pasta? no way. Golden flax pasta? In a rice dish, in a pinch. But none of them produced anything like real spaghetti, let alone real ravioli.
I went straight to the internet: There had to be a way to make pasta at home yourself, and even do it gluten-free. I was mightily assured that yes there was, and it was easy, and here’s how. We made it up, rolled it out forcibly by hand (thanks Mom for doing all that when I was too nerve-damaged to!), boiled it, and more or less forced ourselves to choke it down. It was slimy and leathery and gross, but I took it as proof-of-concept enough, and picked up a hand-cranked pasta machine at Ross the next day (thanks Jocelyn for taking me shopping when I couldn’t drive!).
Probably the best way to communicate how long and uneven progress was after that is to say that this, right now, is no less than the third time I’ve considered myself “done” — but the first time the results have held up to the test of time, and the first time everyone else was clamoring for seconds instead of politely hazarding reviews on their firsts. 🙂 The taste, texture, and bite are all spot-on, and it looks so “normal” I’ve actually had to shut down a bleating panic response in my hindbrain going, “That’s real pasta! Not safe! Don’t touch it!” “Shut up, hindbrain, I made that myself, from scratch, just now, and it IS safe. Now enjoy.” 🙂
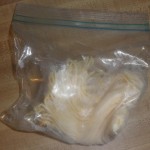
This pasta can be kept in the freezer, mixed in any sauce you like, baked in casseroles (and still be good days later), you name it. The dough is a dream to work with, so you can shape it by hand, with a pasta roller/machine, or with an extruder. There are a few ways this pasta acts a little differently than normal, but if you’re attentive to its needs, the end result is the same: You don’t really want to dry this stuff to store it; you want to freeze it. Let it dry somewhere between 20 and 30 minutes and it’s fine, but any longer and the cooked pasta will taste old and stale. Then bag it up as airtight as you can manage without squishing the pasta and freeze it; don’t worry, if it does stick together it’ll come apart when it cooks (see pictures below).
Another important point — it’s a really good idea to keep your potato flour and the dry pasta mix itself in the freezer too. The potato flour is what gives the pasta its flavor, and if it’s still fresh you won’t even notice, but if it’s even started to get a little old and bitter oh boy will you notice. Just put the fresh potato flour right in the freezer and keep it there, and it’ll be fine.
That’s quite enough ado for now, I think. Time to make some pasta.
Homemade Pasta
Yield: 1/4 pound (4 oz) per egg’s worth of dough (which is a scant 1/2 cup’s worth of dry mix)
Ingredients:
dry mix (given on the flour mixes page as pasta mix):
- 1 1/2 cups corn starch
- 2 tsp xanthan gum
- 2 tsp potato flour
- 1 tsp guar gum
wet mix:
- 1 egg
- 2 tsp olive oil
Directions:
1. First things first — making the dough. You won’t use all the dry mix with one egg’s worth of wet mix! — the proportions are just such that you can’t really make up a little dry mix at a time easily (you need 1/3 tsp measures and such, which not everyone has). You’ll generally use a scant 1/2 cup of dry mix per egg’s worth of wet mix. In these pictures, I’m making up 2 eggs’ worth of dough, which is about half a pound.
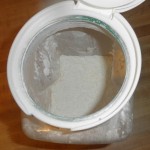
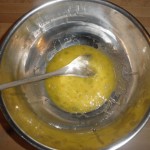
So first off, make up your dry and wet mixes. I keep the dry mix in Snapware, and make up wet mix in a wide mixing bowl. (Conventional pasta-making instructions would have you put the dry mix on the counter in a mound and so on, but this approach lets me approach how much dry mix I’m working in when much more exactly, which means way fewer screw-ups — and a much cleaner counter.) Beat the wet mix together with a wooden spoon.
 |
 |
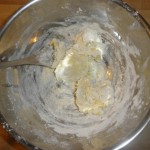
2. Since I’m making half a pound (2 eggs’ worth), I expect to use a scant cup or so of dry mix. You do not want to tump all that in at once and pray, though! — it won’t integrate well, and you might get a dough that’s way too stiff and dry to work with easily if you’re unlucky. Instead, take a few tablespoons of dry mix at a time, as much as 1/4 cup if you want, and mix it in in stages.
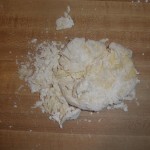
After the first half cup or so (so about half the dry mix you expect to use), the liquidy wet mix will start to pull together into a very soft, squishy dough ball. At this point, gently turn the dough out onto the counter, then take a soft spatula to the bowl you mixed in, scrape it clean, and turn the scraps out, too. No sense letting any go to waste. Gently knead the scraps into the dough ball till it all smooths out just a little.
 |
 |
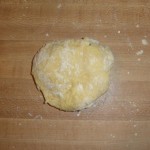 |
3. At this point, the dough is very soft, very sticky, and very eggy. So, we need to knead more dry mix into it, slowly, until it changes consistency from eggy and sticky to firm and springy, but still pliable. Dust the countertop with a tablespoon or so of dry mix at a time, and knead it into the dough until all the dry mix is fully integrated. Then dust the counter again, knead the dough some more, and so on.
The first sign of progress you’re looking for is when the dough stops wanting to stick to the countertop; that means you’re getting close. The best way to know the dough is stiff enough is when you no longer feel sticky or slimy parts, or “cold spots” that are colder and slimier than the rest of the dough, and you have to press and work the dough a little more to heal up cracks (which should still go away easily). If you start shaping the dough and it’s too soft or too sticky, just mash it all back together into a lump and work in a bit more dry mix, then try again; if it’s too stiff and dry, work in just a few drops of water and try again.
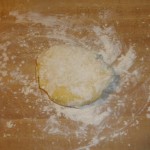 |
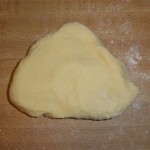 |
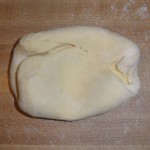 |
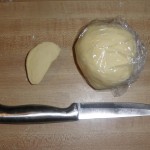
4. Now that you have your dough, you can shape it. Cut off a piece of the lump with a knife, and wrap up the rest of the ball in plastic wrap. (Always wrap up any dough you’re not working with right now so it won’t dry out.)
Now, there’s three ways you can shape the dough from here: You can do it by hand, you can use a pasta roller to roll it into sheets and cut them, or you can use a pasta extruder to just squeeze the dough directly into the shapes you want. Those methods are progressively easier and more expensive (which is why when learning how to make pasta ourselves we started working by hand, then got a roller, then eventually got an extruder), and I’ll go through each one.
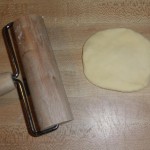
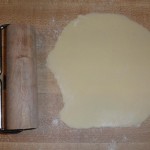
5(a). Rolling and cutting it by hand is simplest, fundamentally, if less consistent and less precise: Take a rolling pin, and roll the dough out on the counter until it’s as thin as you want it/can get it. The dough should be firm enough to not stick to the counter; if not, work in a little more dry mix. I like to pick up the dough and flip it over periodically to keep from mashing it into the counter generally, and check that it’s holding together fine.
 |
 |
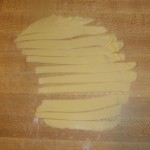
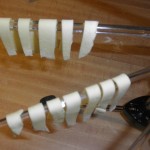
Once it’s rolled out thin enough that it’s pasta-thickness (if on the thick side of that, mostly likely), take a knife and cut it into strips for noodles. When it’s cut, you can put it straight in boiling water or hang it to dry before being frozen.
 |
 |
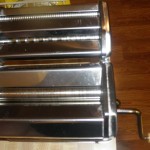
5(b). Next up, we have the option of using a pasta roller/cutter/maker/machine/whatever you want to call it. I mean this thing:
It should come with instructions, so I’ll leave the bulk of the explanation to that handy dandy little booklet and give you the short version: The roller should have a number of settings, each of which will press the dough a bit thinner than the one before. Take a piece of your dough, flatten it between your hands, thread it into the roller, and crank it though to roll it out. Then adjust the roller to the next thinner setting, thread and crank the dough again, and so on till it’s as thin as you want, like so:
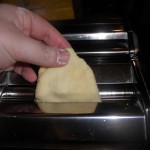 |
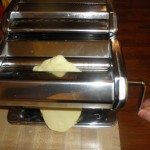 |
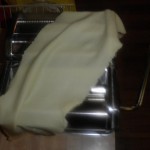 |
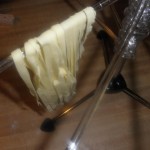
Next, move the crank to the cutter, and thread and crank the dough through the cutter of your choice to get the noodles you want. Then hang them up to dry for a bit before freezing or boiling them.
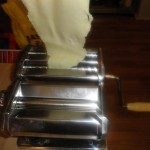 |
 |
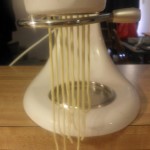
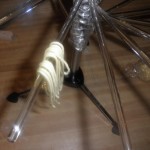
5(c). Finally, there’s the extruder option. I hear tell there are hand-powered extruders in the world, but personally I moved straight along to the motorized version, and I don’t regret it. Again, this beauty should come with directions, so I’ll let you peruse them as you like. Long story short, you feed lumps of dough in the top, and noodles stream out the bottom. Cut them periodically and hang them up to dry briefly before being frozen, or just cook them fresh. My extruder lets me make spaghetti, two sizes of macaroni, and three other shapes, it’s just a dream.
 |
 |
6. Now you cook the pasta! Set some water to boil, add a pinch of salt, put the noodles in to boil, strain then when they’re done. Fresh pasta usually takes about 2 minutes to cook, though if you have very thick noodles or like your pasta purged of even a trace of al dente firmness, you might go up to 3 minutes. If you aren’t sure, start trying it 90 seconds in or so. Frozen noodles will take longer, anywhere from 3-5 minutes depending on the thickness; start trying them at 3 minutes if you aren’t sure.
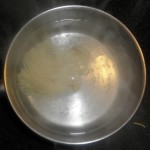
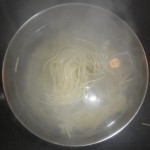
In these pictures, I’m boiling some previously frozen spaghetti noodles. The noodles stuck to each other when packed away to be frozen, since they’d “only” dried twenty minutes or so, but that’s okay: Let them sit in the water a few seconds, then they’ll come apart nice and easy with a few nudges of your spoon and be good as new.
 |
 |
 |
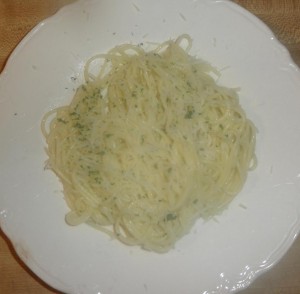
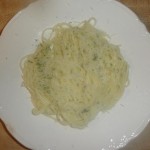
And then you have pasta. And that makes all this work worth it.

Leave a Reply