


Due to an odd, a-seasonal abundance of strawberries in my local grocery stores, I ended up with a box of extremely ripe berries that had to be used now. So, since I had rhubarb in my freezer from this past fall (and a husband who loves strawberry-rhubarb pie) on hand, I decided to make a pie to celebrate Easter with. It’s a tasty treat, and with just the two of us a whole feast seemed excessive. So, here you go :-).
Now, my fella happens to like his pie with a bit of tart bite to it still, so the lesser amount of baking stevia is how I make this treat. Some folks like more sweet, though, so that’s the upper range. I wouldn’t add much more baking stevia or you’ll get a weird grainy consistency to your pie that just isn’t pleasant. Oh, and tempting though it is, don’t increase the strawberries beyond the two cups–it’ll make things too watery and too mushy. With those caveats out of the way, here’s the recipe!

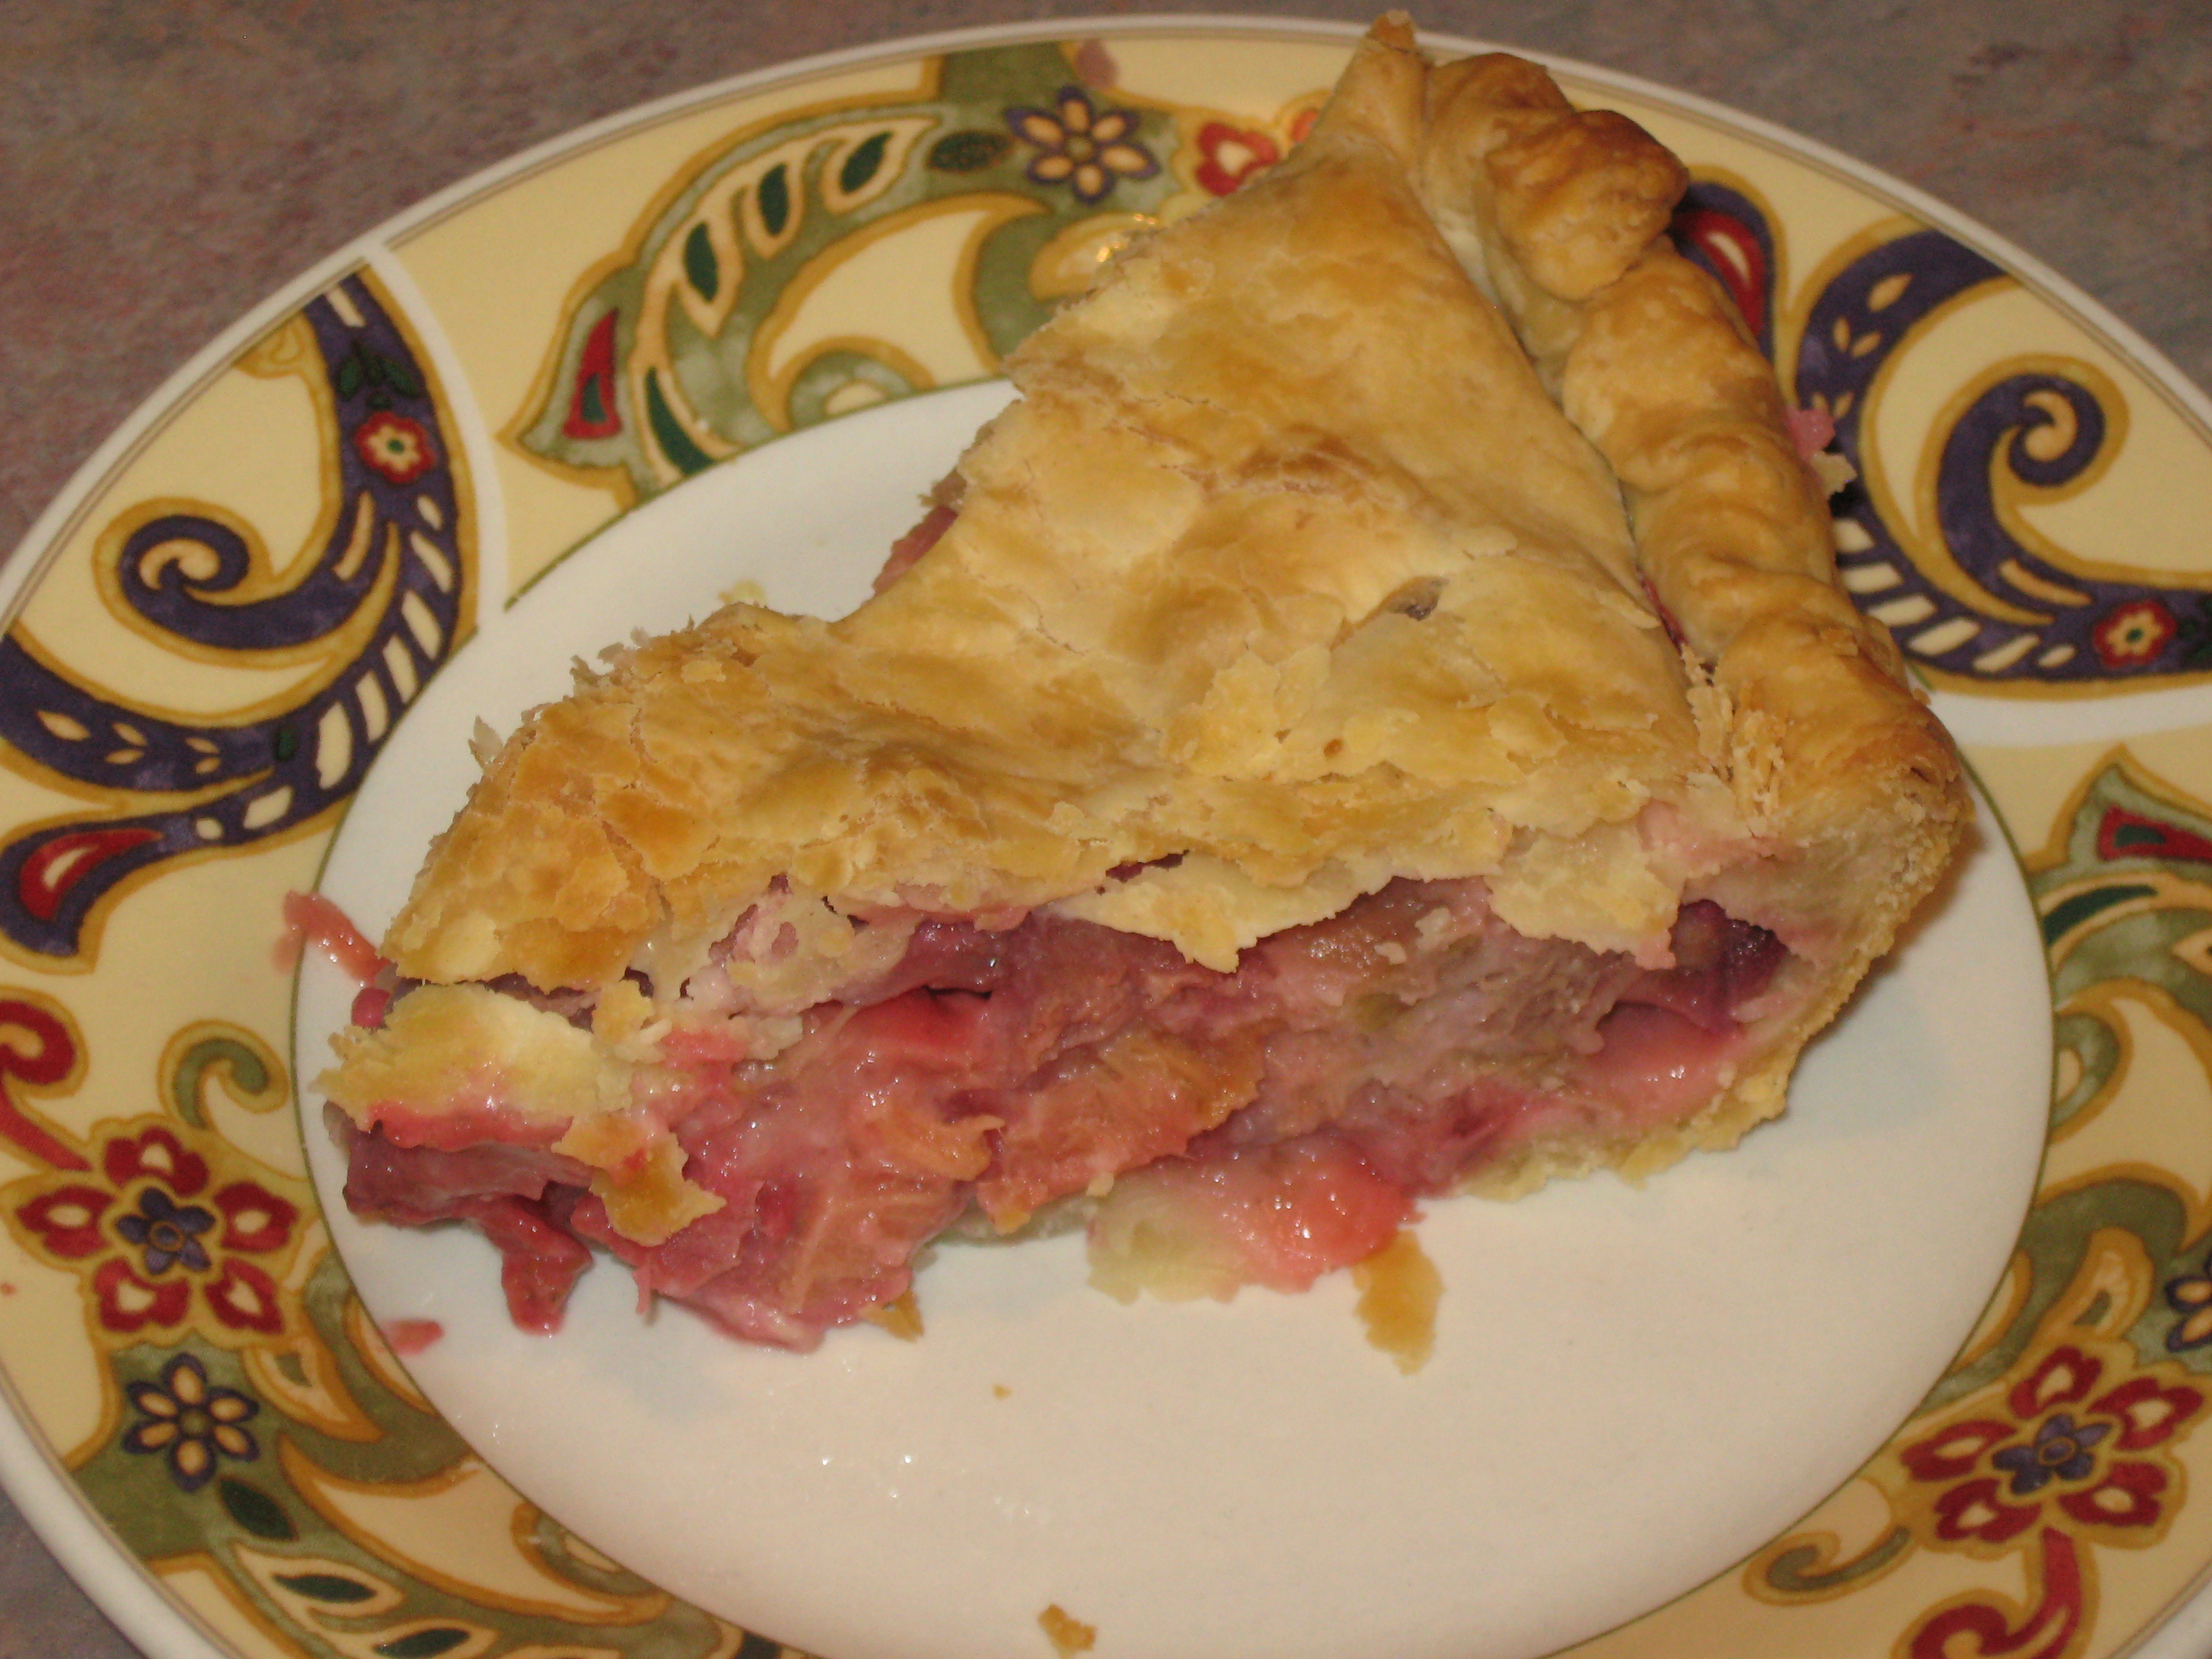
Strawberry-Rhubarb Pie (yields one 9-10″ pie)
Ingredients:
- 2 nine or ten inch pie crusts (premade or homemade)
- 3 TBS to 1/4 cup baking stevia (you can go up to 1/3 cup if you like it really sweet, but we prefer 3 TBS so it has a bit of tanginess)
- 1/2 cup unbleached all-purpose flour
- 1 TBS instant tapioca
- 1 tsp fresh lemon zest (or you can substitute orange zest for a slightly different flavor)
- 4 cups chopped rhubarb (fresh or frozen–if using frozen, let thaw until you can break them up into individual pieces, but they don’t have to be all the way thawed)
- 2 cups chopped strawberries (fresh are FAR preferable–I’ve never used frozen for this and have no idea if it would work well)
- 1 TBS cold butter
Directions:
1. Preheat the oven to 425 degrees Fahrenheit. Combine chopped rhubarb and strawberries in a large mixing bowl. Add baking stevia, flour, instant tapioca and lemon/orange zest and mix until everything is well-coated in the powders. Don’t worry if there is a little extra powder in the bottom of the bowl.
2. Press one of the pie crusts into a greased deep-dish pie pan. Dump the filling mixture into the crust, allowing any extra powder to dust over the top as well.
3. Cut the cold butter up into little tiny pieces and “dot” it over the top of the filling.
4. Put the other pie crust over the top, seal the edges (make the pinch-ridge all around the edge), and flute the top (cut the little slits in it to let out steam).
5. Put pie in the preheated oven and bake 45-55 minutes, until nicely browned. You may see juices bubbling out the edges or slits … in fact, this pie does occasionally “boil over” so I generally put a cookie sheet or sheet of aluminum foil on the rack below it in the oven, just in case. This doesn’t always happen, but when it does, well, the sugars tend to solidify into something a lot like concrete on the bottom of an oven and are a PAIN to clean, so it’s best to just put something under the pie that can be removed from the oven!
6. Let pie cool completely before serving. I know, I know, warm pie is wonderful, but just be forewarned that if you cut into it when it’s too warm the filling will run all over instead of solidifying and letting you have nice firm slices of pie. Sometimes it’s worth the mess to have the warm pie, of course, but if you want it to look nice (say, you’re serving it to company), make sure it gets to cool all the way. Enjoy!


Leave a Reply