Cinnamon rolls. 🙂 Need I say more? I know Jocelyn did a post on a sugar-free version of these, so maybe you could add her alchemy to my own and get something really unusual yet delicious, but neither of us has tried it! Living in two different time zones probably has something to do with it, but, I digress. The real point is that these are so good I can’t keep them around. If there’s a bunch of people around, everybody eats one; if there isn’t, everybody eats several. They’re just plain yummy.
Don’t let the somewhat complicated procedure below discourage you; yes, you have to make three separate “parts” of the roll — dough, filling, topping — but each of them basically amounts to “throw it in the stand mixer and turn it on.” You don’t have to wait for anything to rise, you just have to assemble the pieces into a lovely spiral log and there you go.
Well, no reason to waste words on prattle when there’s deliciousness up ahead. With no further ado, let the recipe begin.
GF Cinnamon Rolls
Yield: 8-9 rolls (you shoot for 8, sometimes you get 9, it’s okay)
Ingredients:
for the dough:
- 1 1/2 tsp sugar
- 2 1/2 tsp yeast
- 2/3 cup hot water
- 2 T butter, softened
- 1/4 cup sugar
- 1 egg
- 1/4 cup oil
- 1 1/2 cup + 3 T dough mix
- 2 tsp xanthan gum
- 3/4 tsp guar gum
- 1/4 tsp baking soda
- 2 tsp baking powder
- 1/2 tsp salt
- 1 tsp vanilla
- 2/3 cup brown sugar
- 1 tsp cinnamon
- 1/8 tsp nutmeg
- 1/3 cup chopped walnuts
- 1 1/3 oz cream cheese, softened
- 4 tsp butter, softened
- 1/3 cup powdered sugar
- 1/2 tsp milk or half-and-half
- scant 1/4 tsp vanilla
Directions:
1. An hour or so before you get started, set butter and cream cheese out to soften. Once they’re soft enough to cream, preheat the oven to 400 degrees (if you’re using a glass pan; 375 for a metal one), and lightly grease a round 9-inch pan.
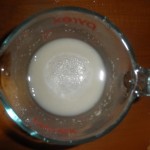
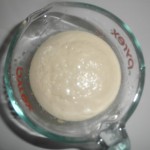
2. First, to put together the dough! Combine 1 1/2 tsp sugar, the yeast, and the hot water in a small bowl and set aside to proof.
 |
 |
3. In the bowl of a stand mixer, first cream the softened butter just a little so it’s not just one lump. Then add the rest of the dough ingredients while the yeast mixture proofed, adding it last. The resulting dough should come together nicely, and take on a shape when squished into one, but still be very soft and sticky.
4. Take two rectangles of wax paper, maybe twice as long as they are wide; grease them lightly, then “flour” them generously with dough mix. You’ll also want to get a rolling pin, though you won’t need to dust it since it won’t ever touch the dough directly, just the wax paper. 🙂
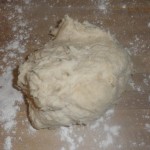
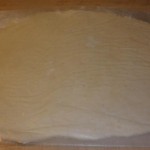
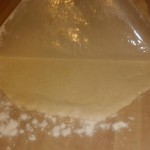
What you’re going to do roll the dough out into a flat, thin rectangle, then, once you’ve added the filling, roll that rectangle up into a log that’ll look like a cinnamon roll if you look at it from one end. For now, make the rectangle: Put the dough on one piece of prepared wax paper, then press the second piece over it. Use the rolling pin on the dough, through the top piece of wax paper, to gently roll the dough out into a rectangle, like so:
 |
 |
Once that’s done, gently and carefully tug up the corner of the top sheet of wax paper (whichever one comes up with the least fuss), and peel it off the dough slowly and patiently. (If the dough doesn’t want to let go, grab a soft spatula and scrape it down a little bit at a time as it comes up.)
 |
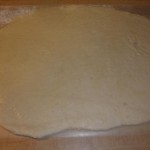 |
Leave the dough rectangle there for now.
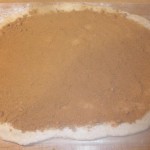
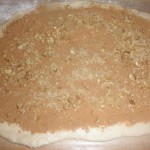
5. Next up, filling time. This is easy: Just grab a small mixing bowl, and mix together the brown sugar, cinnamon, and nutmeg. You’ll want the chopped nuts to be separate. Then spread the filling evenly over the dough rectangle, leaving a little space at the edges so the filling won’t spill when you roll it up. After you’ve spread the filling, spread the walnuts the same way.
 |
 |
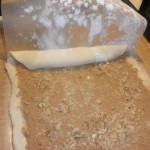
6. Now, pick up one side of the wax paper, and lift it slowly, letting the weight of the dough roll it up into a log. Have a soft spatula on hand to encourage it to come up off the wax paper if necessary. The key thing is to be patient, especially if the dough’s a touch too sticky.
 |
 |
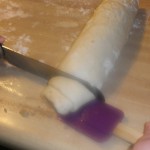
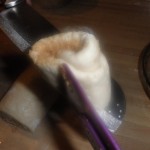
7. Finally you can cut the log into individual cinnamon rolls and move them to the pan. This is probably the part of the operation that’s easiest to screw up if you’re not careful — the log may look snug and solid, but it’s really just a spiral of dough that isn’t stuck to itself thanks to the filling in between! No worries, though: You’ll want a wide knife that can help you move each cinnamon roll, and that soft spatula, too. Use the soft spatula to get under each piece of the log before you cut it, then turn the knife and spatula at the same time so that the dough goes from resting on the spatula to resting on the flat of the knife.
 |
 |
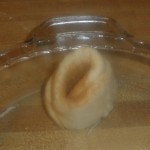
Then use the spatula to slide the roll off the knife and into the round glass pan you greased earlier.
 |
 |
8. The topping’s standard, nothing special to it: You probably want to clean out your stand mixer bowl, and use the whisk attachment so you can do this the easy way of course. 🙂 Cream together the cream cheese and butter, then add the vanilla; then add the powdered sugar and milk alternately in parts, and use more or less milk as needed so you get a nice spreadable consistency for the end result.
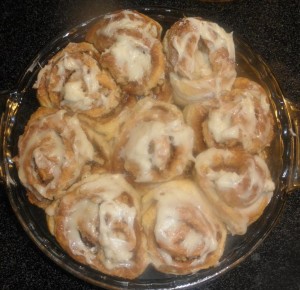
9. Once the rolls are baked, frost them hot and in the pan, then let everybody know there’s goodies to be served!
 |
 |

Leave a Reply