It’s time to add to the list of recipes I’ve redone so completely that I posted again! This week — pizza crusts! This version is much easier to work with, and tastier to boot. Not to mention this dough is a lot more fun to work with, since you don’t have to treat it like an unusually recalcitrant spreadable batter. That’s always a plus. As a result this recipe has completely displaced the previous version in our household.
I do seriously recommend baking this crust on an aerated pizza pan. You don’t want to just use a cookie sheet because the crust will be soggy in the middle instead of nice and crisp throughout, but I don’t suggest a pizza stone and paddle, either, because the dough isn’t exactly easy to move from point A to point B. If you’re methodical and plan ahead, it’s fine, but I still wouldn’t even try to use a pizza stone with gluten-free dough.
All that said — let the recipe sell itself!
Thin Flexible Pizza
Yield: 4-8 crusts, depending on how big and how thin you make them
Ingredients:
- 3 cups dough mix, plus generous extra for kneading
- 1/2 T salt
- 1/2 T xanthan gum
- 3/4 tsp guar gum
- 3 T shortening
- 1 1/2 cups hot water
- 1 T yeast
- 2 tsp sugar
- optional: canola oil to brush edges of crusts
Directions:
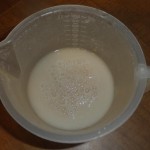
1. In a small mixing bowl, whisk together the hot water, sugar, and yeast, and set aside to proof (at least 5 minutes, until it starts to bubble).
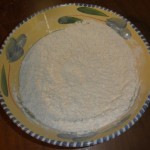
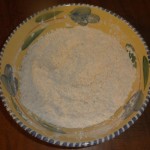
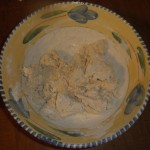
2. In a large mixing bowl (or if you want, in the bowl of stand mixer, using the paddle attachment), stir together the remaining dry ingredients: the dough mix, salt, xanthan gum, and guar gum. Next, cut in the shortening with a pastry cutter, or just a fork; for this little shortening to this much dry mix, a fork will really work just fine. The shortening should be pea-size or smaller by the time you’re done. (If you’re using a stand mixer, just use the whisk attachment on the slowest setting, and it’ll do this part for you just fine.) Finally, add the proofed yeast mixture and stir with a fork (or the paddle attachment again) till the dough coheres.
 |
 |
 |
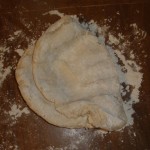
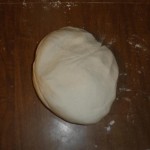
3. Turn the dough out onto a lightly-dough-mixed surface to knead. You’ll want to knead dough mix into the dough until it stops sticking and smooths out. It should be quite flexible and stretchy thanks to the shortening, so this should be relatively quick and easy.
 |
 |
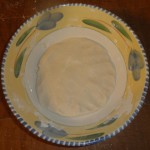
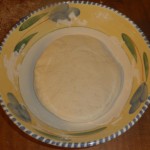
4. Let the dough rise till nearly double or so. This takes about an hour, but of course that’ll vary depending on heat and humidity. To make it easier to tell how much the ball’s risen, I like to flatten it out in the bottom of the mixing bowl as much as possible, like so:
 |
 |
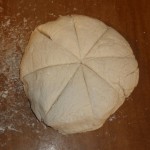
5. At this point you can just store some or all of the risen dough in the fridge to use later, or cut and roll it now. How many pizzas you want to make out of one lump is up to you, but I like to cut the dough into even pieces like so:
 |
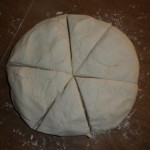 |
An eighth of the round will give you one thin, plate-sized pizza for one; a larger wedge will give you a larger or thicker pizza. If you’re going to bake the dough now, preheat the oven to 425 degrees Farenheit.
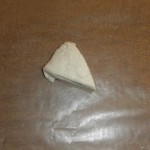
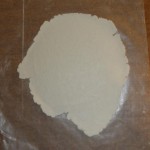
6. Take a piece of the dough and roll it out gently on a piece of wax paper. You’ll need to be able to move the dough to an aerated pan to bake, and while you can get this dough up from the counter neatly, it can take an act of God sometimes. If you roll it on wax paper, you can just flip the paper and dough together onto the pan and peel the wax paper off — done.
 |
 |
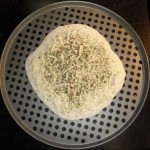
7. Move the crust to an aerated pizza pan or, in a pinch, a cooling rack (though I’m told they’re not really rated for that kind of heat, so improvise at your own risk). You’ll want air circulating over the bottom of the crust to crisp it up; otherwise, it’ll be soggy and gross. Top the pizza, brush the edges with oil if you want to, then pop it in the preheated oven for about 10 minutes, and it’s time to eat!
 |
 |
 |


Leave a Reply