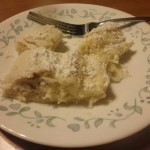
It doesn’t look like much at first glance, maybe, but — it’s flaky. And boy does gluten-free not like to do flaky. This is a treat you have to work for, but it’s worth it in the end.
Phyllo dough is one of those pastry-making ingredients even the most hardcore home baker usually just buys — it’s not expensive, and it’s a pain to make yourself. When you have to eat gluten-free, though, buying it premade isn’t an option (at least not that I’ve ever found!). So if you want strudel, baklava (like Jocelyn’s), or anything else that uses phyllo dough, you’re either out of luck, or it’s time to make your own. Guess which option I went for. 🙂
I honestly haven’t tried to store this dough once it’s sheeted, because it’s so thin and so delicate I don’t think it would survive well; but I’ve wrapped up the dough and stored it in the fridge for a day or two before sheeting it, and that works well enough. You’ll need parchment paper and a pasta roller to sheet the dough. The biggest drawback of this sheeting method is that you can only make a sheet as wide as your pasta roller, if not narrower; but boy oh boy, can you get it thin. I’ve ordered but not yet gotten a wider roller so I can make bigger sheets, so I guess I’ll let you know how that works out when it gets here! 🙂
Phyllo Sheets
Yield: 5-6 sheets
Ingredients:
- 1/2 cup dough mix (plus a little extra for kneading and dusting)
- 1/4 tsp salt
- 1/4 tsp xanthan gum
- 1/4 tsp guar gum
- 4 tsp powdered sugar (optional, but recommended)
- 3 T shortening
- 1 tsp olive oil
- 1/4 tsp vinegar
- 2 T + 2 tsp hot water
- clarified butter (ghee) for brushing each dough sheet (you can use regular butter, but the end result will be heavier)
Directions:
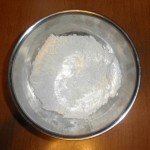
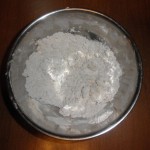
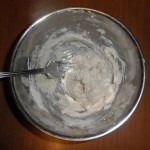
1. Making the dough is easy and quick: In a medium mixing bowl, whisk together the dry ingredients (dough mix, salt, xanthan gum, guar gum, and powdered sugar). Then cut in the shortening with a fork till it’s crumbled into the dry ingredients. Finally, add the olive oil, vinegar, and hot water, and use the fork to bring the dough together. (You can substitute canola oil for olive oil, but the flavor isn’t quite as good.)
 |
 |
 |
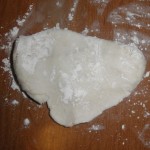
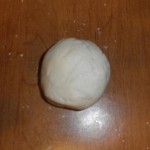
2. Knead the dough just until smooth, adding dough mix as needed till it doesn’t stick to the counter.
3. Now the fun begins! Time to set up to sheet and layer the dough. You’ll need two pieces of parchment paper, one to lay the finished sheets on, and one cut down to size to fit through your pasta roller with a little room to spare on either side. Make sure the cut parchment paper doesn’t have any wrinkles in it, or they’ll tear the dough once it’s thin enough.
Get just a little of the greasiness of the dough on your hands, then rub both sheets down with dough mix — this’ll keep the dough from sticking to either sheet later on. (Be sure to re-rub the cut sheet with each new piece of dough you roll out.) While you’re at it, melt just a couple tablespoons of clarified butter in a small bowl.
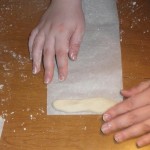
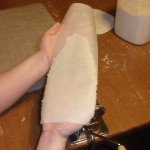
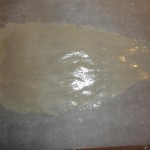
4. Cut a small piece of dough and press it flat to one end of your cut parchment paper, like so:
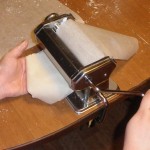
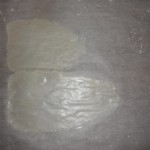
Set the pasta roller to the widest setting, and roll the dough and parchment paper together through the machine. Then roll them through again one setting thinner, then still one setting thinner, and so on until you’ve rolled the dough and parchment paper through the machine on its thinnest setting.
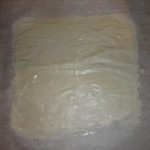
There’s the sheeted dough — even thinner than the thinnest setting on the pasta roller, thanks to the parchment paper getting rolled through with it!
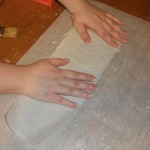
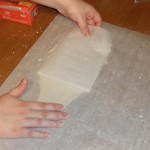
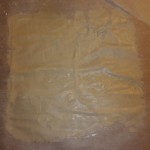
5. After you sheet each piece of dough, lay the dough-and-parchment-paper dough-side-down on the full-size sheet of parchment paper you got ready earlier. Press the sheet down lightly, then, carefully, peel the cut parchment paper up and away from the sheeted dough. The nastiest part is usually getting the edge of the dough to let go of the parchment paper, though if the parchment paper wasn’t rubbed down with quite enough dough mix, or the paper has a crease or wrinkle in it, the whole sheet is sometimes problematic, too. The ends may not be pretty, but they’ll function. Be patient and gentle with them.
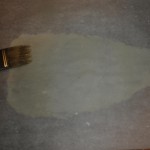
6. Once the dough’s been transferred successfully, take a pastry brush and very gently brush the surface of the dough with clarified butter. You don’t want or need very much, just enough to coat the dough. (Re-melt the butter so it isn’t too viscous if you need to. There are times I pop that little bowl back in the microwave between every sheet.)
Again — be gentle. The dough is thin, and if you treat it roughly, it’ll break. A break here and there isn’t the end of the world, since you’re making layers, but you don’t want them everywhere, either.
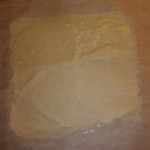
7. If you’re making something small, just lay new sheets of dough down in the same place; but you can “simulate” larger sheets with several smaller ones, as long as you put down each layer at a right angle to the one before to all the “seams” aren’t in the same places. Here, a picture’s worth a thousand words:
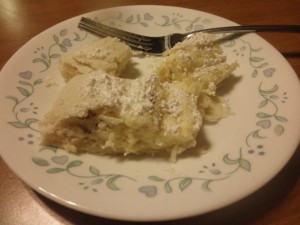
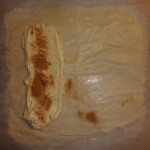
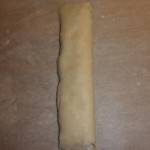
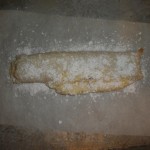
8. So, there’s the general idea of making, sheeting, and layering the phyllo dough. We improvised a cinnamon cream cheese filling for this batch, rolled up the dough like strudel, brushed the outside with clarified butter, baked it at 400 degrees Farenheit for about 15-20 minutes, and topped it with powdered sugar. It burst on one side while it was baking — probably because I was lazy, and used half as many dough sheets as I really should’ve. But it was delicious all the same. 🙂

Leave a Reply