


Last week I asked myself, “What glutinous food do I miss that I’d like to have back?” And then I walked through a supermarket checkout, and my self anwered, “Twix bars. The peanut butter kind. You know, like you had with your lunch almost every day in high school.” So I thought, all right then. 🙂 Let’s make Twix bars.
The idea is pretty straightforward — cookie bottom, peanut butter middle, chocolate top — so the implementation is pretty straightforward, too. The hardest part is easily cutting up the bars at the end, and the only real investment you need to make it is time — time to bake, time to cool, time to freeze, time to freeze again. They’re not the prettiest bars in the universe, but if you want to you could dip each one in melted chocolate to make the sides and bottom look nicer.
I still recommend either of these two adjustable rolling pins to make the cookie layer easier, and of course a stand mixer is always great, but other than that you don’t really need any specialized equipment. Let’s make candy. 😀
Peanut Butter Twix Bars
Yield: 15-20 bars, depending how big you cut them.
Ingredients:
for the cookie layer:
- 1 1/4 cup dough mix
- 2 T cocoa powder
- 1/4 tsp xanthan gum
- 1/8 tsp guar gum
- 1/8 tsp salt
- 1 cup sugar
- 1/2 tsp vanilla
- 1 egg
- 1/2 cup butter, softened
for the peanut butter layer:
- 1 1/2 cup creamy peanut butter
- 3 T heavy cream
- 6 T sugar
for the chocolate layer:
- 2 cups milk chocolate chips
Directions:
1. Preheat the oven to 325 degrees Farenheit. Cover a large cookie sheet with parchment paper and set aside. (One with a lip is good, because you’ll want to cover it later without getting foil on melted chocolate.)
2. In the bowl of a stand mixer, whisk together the dry ingredients for the cookie layer (dough mix, cocoa powder, xanthan gum, guar gum, salt, and sugar), then use the paddle attachment to mix in the vanilla, egg, and butter. Be patient with the dough, and resist the temptation to add any liquid; give it time and it’ll combine on its own.
3. Roll the dough out into a single rectangle 1/4″ thick, “floured” generously with dough mix. You can either roll it elsewhere and move it to the parchment paper on the cookie sheet, or just roll it out on the parchment paper. I didn’t have any problems moving it, but you have to be careful. The dough will spread out a little as it bakes, so give it some room on the edges.
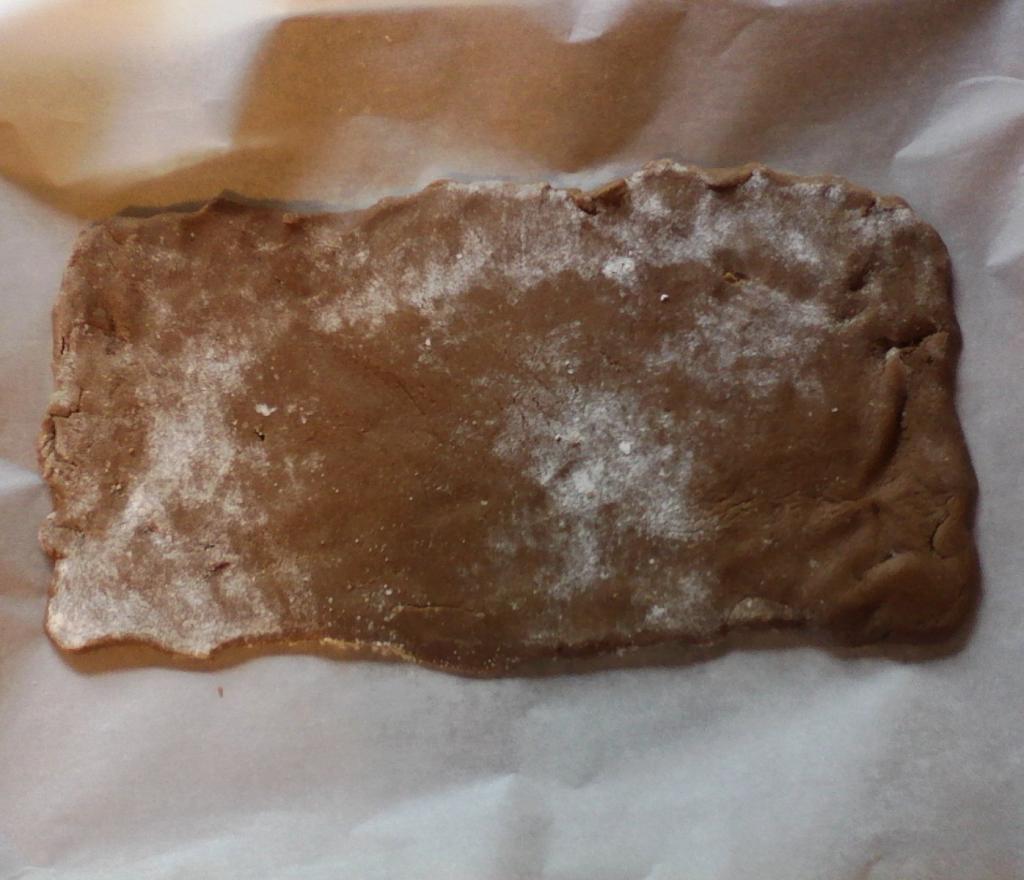
4. Bake the dough sheet in the preheated oven for 25-30 minutes. Once it’s done, set the entire cookie sheet on a cooling rack and let it cool completely.

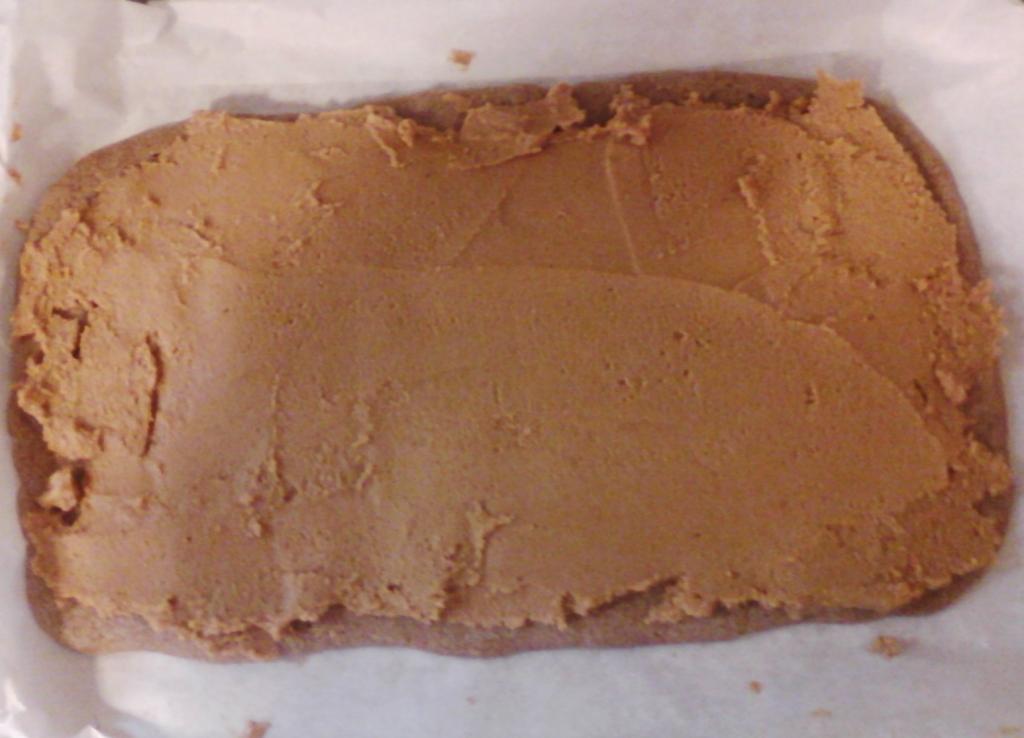
5. Once the cookie layer’s cooled, combine the peanut butter layer ingredients (peanut butter, cream, and sugar) in a saucepan over the lowest heat your stove lets you use. Stir the ingredients just until combined, then remove from heat. Spread the hot mixture as evenly as you can over the cookie layer using a floppy spatula, then cover the cookie sheet and put it in your freezer for 30 minutes.
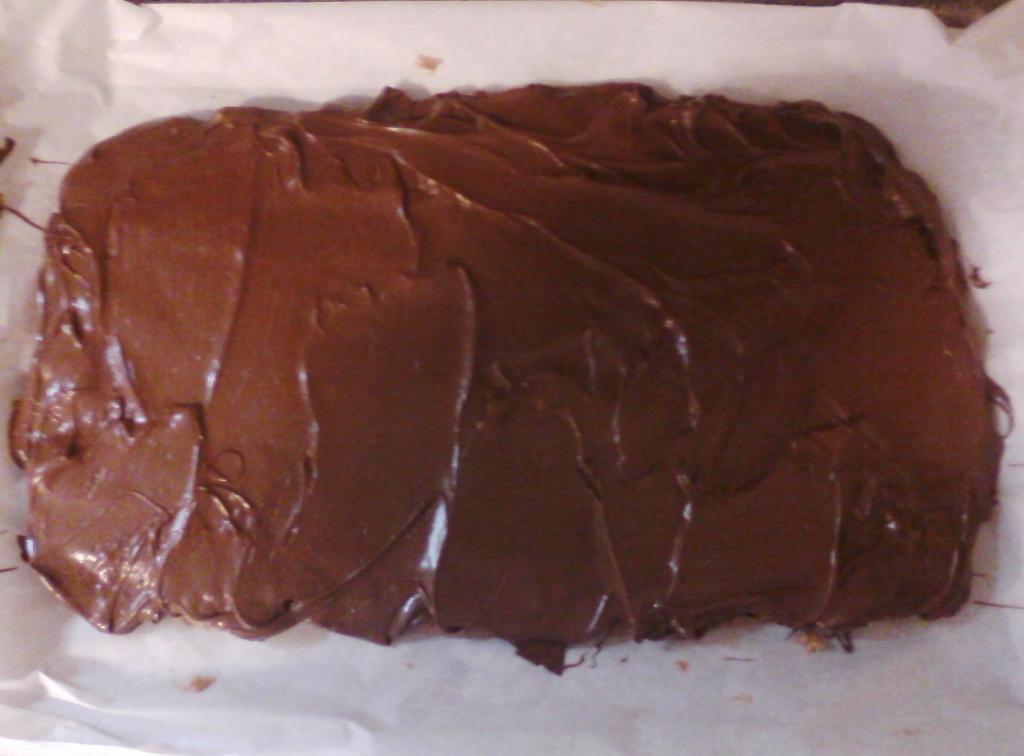
6. Once the peanut butter layer is set and cold, melt the 2 cups chocolate chips on the stovetop. You can either use a double boiler or just set the heat as low as it’ll go and stir constantly (which is the method I prefer). Once the chocolate is melted and smooth, spread it over the peanut butter layer as evenly as you can with a floppy spatula. Re-cover the cookie sheet and put it back in the freezer for at least another half hour, though an hour or more is better.
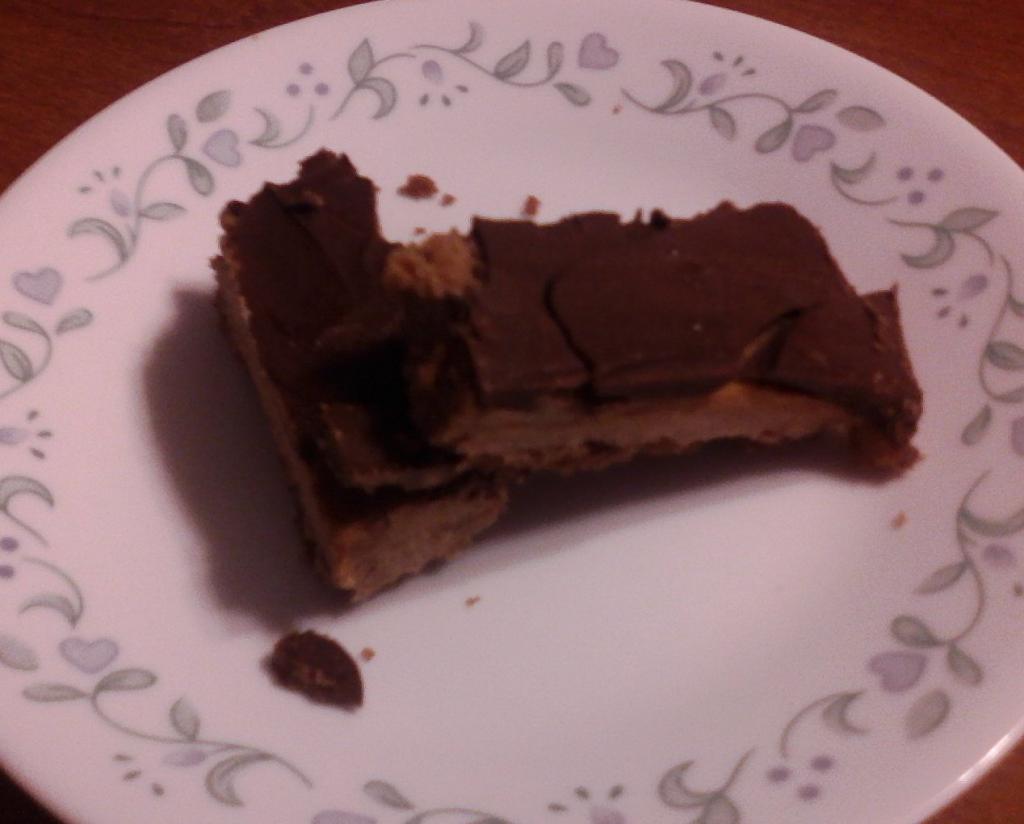
7. Once the chocolate layer is set, it’s time to cut this concoction into bars! This is easier said than done, however. The best way to do it is to use a stiff metal spatula and press straight down to form the lines you want to cut along. It takes a lot of force, but does a fairly neat job. Cut up the candy into the size bars you want, and store in tupperware in the freezer. Enjoy. 🙂


Leave a Reply