


So, it turns out we don’t need to be as strict about cutting out dairy as we do about cutting out, say, sugar and grains, which have demonstrably made my sister and me both sick at this point. You can expect me to go on an oh-wait-I-can-use-dairy-again-really-let’s-get-cracking! spree for a while as a result, and here’s the first finished recipe: waffles. 🙂
(If you can’t tolerate dairy, though, you can substitute coconut milk for the milk in this recipe and it still works great; just make sure you’ve watered down the coconut milk to about the consistency of whole milk if it’s too thick and creamy, so you don’t overthicken the waffle batter. I’ve used 1/2 cup full-fat coconut milk and 1/2 cup water in the past.)
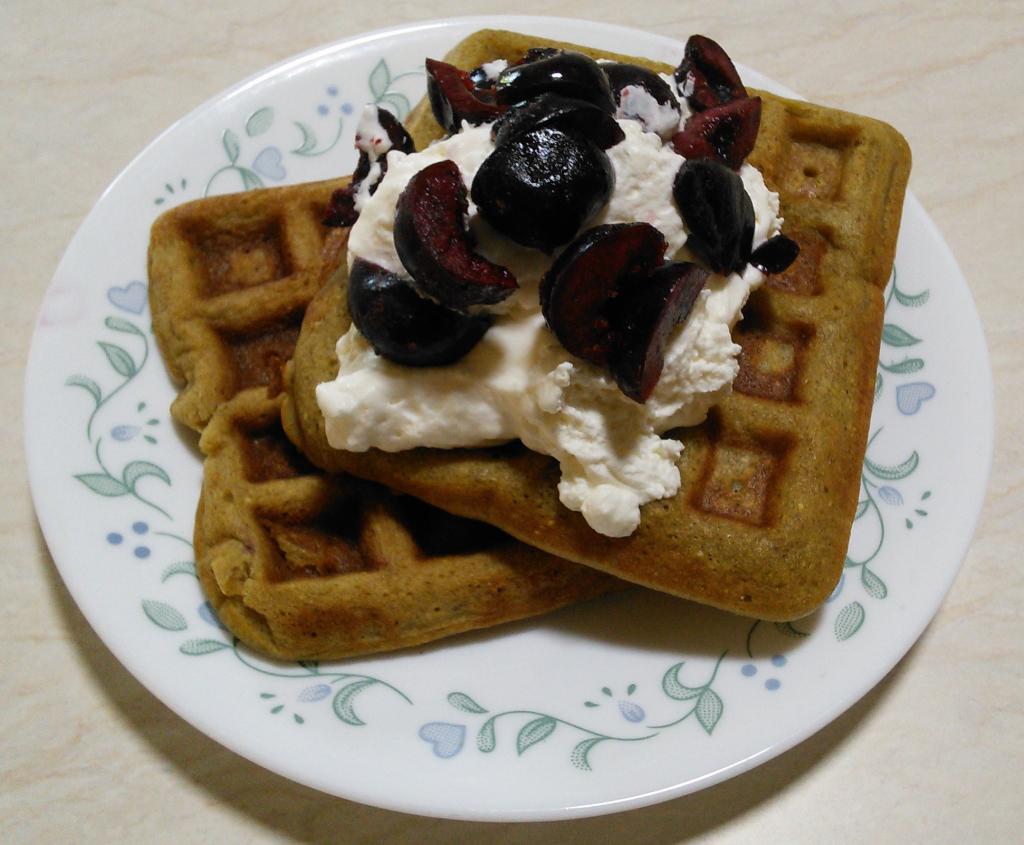
These are soft waffles, not crispy or crunchy ones — though if I ever figure those out, you can bet I’ll post them too. You’ll need a waffle iron, of course, but no other specialty tools. If you want to top your waffles with sugar-free whipped cream like I did in the picture, I’ll include my whipped cream recipe below the waffle recipe so you can. The cherries on top of the whipped cream are just chopped frozen cherries, already sugar-free and delicious. 🙂
Less talk, more waffle. 😀
Grain-Free Waffles
Yield: 9 waffles
Ingredients:
- 2 cups paleo dough mix
- 3/4 tsp stevia powder
- 3/4 tsp salt
- 1 tsp baking soda
- 1/3 cup coconut oil, melted; plus extra for cooking
- 2 tsp vanilla
- 3 eggs
- 1 cup milk
- 1/2 cup pear juice
Directions:
1. Start the waffle iron preheating. Put a dab of coconut oil on each face of the iron with a heat-resistant floppy spatula, and spread it over the surface a little to pre-grease it.
2. In a medium-to-large mixing bowl, whisk together the dry ingredients (paleo dough mix, stevia powder, salt, and baking soda). Then add the remaining ingredients (coconut oil, eggs, vanilla, milk, and pear juice), and mix until fully combined and smooth. (You can quickly melt the coconut oil on the stove or in the microwave; it just needs to be a liquid to combine well with the batter!)
3. Once the iron is hot, pour 1/3 cup of batter per waffle onto the iron, then close it and let the waffles cook for 5 minutes. Gently pry up the cooked waffles with a heat-resistant spatula and turn them onto a plate to cool a little. You shouldn’t need to re-grease the iron, so go ahead and pour the next scoop of batter on — or just put the batter in the fridge to make more later.
4. Top and eat!
Whipped Cream With Stevia
Yield: Eyeballing it, probably 2 – 3 cups
Ingredients:
- 1 1/4 cup heavy whipping cream
- 1/2 tsp vanilla
- 1/8 tsp liquid stevia extract
Directions:
1. In the bowl of a stand mixer, combine all ingredients. Whip using the whisk attachment, starting at a low speed, then increasing the speed slowly up to maximum so you don’t splash yourself! Whip until soft peaks form (this takes a couple minutes at most), then spoon the whipped cream into a tupperware to store in the fridge.
I don’t think I’ve had a batch last longer than a week, but it keeps that long with no problems — though you can always freeze whipped cream until later if you’re worried!


Leave a Reply