


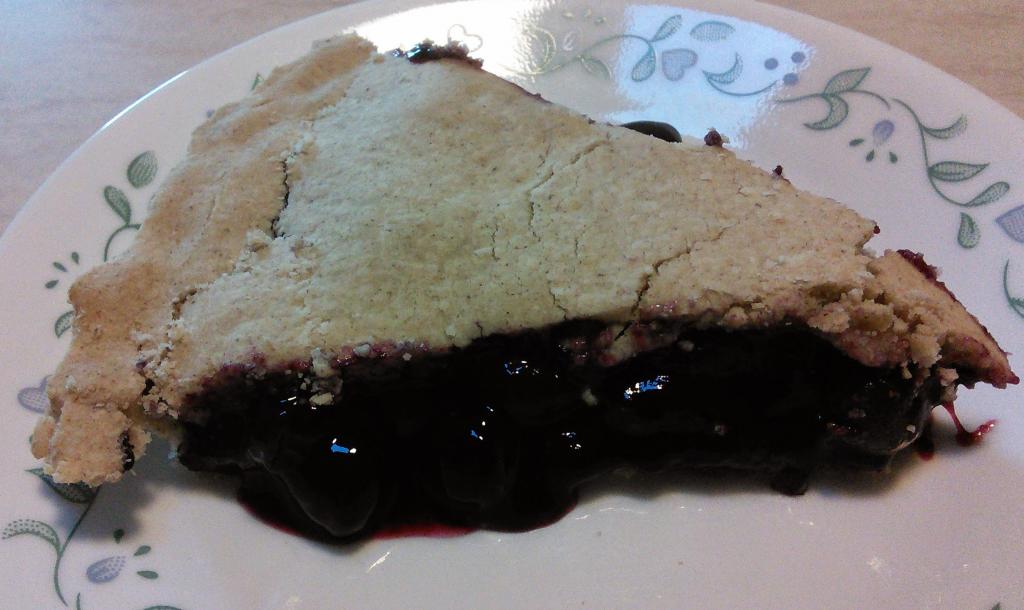
This is not the prettiest-looking slice of pie in the universe. It is not neat. It is not symmetrical. But it is delicious. This is a real pie filling, in a real pastry shell, and when you eat it you are eating a real pie.
Pie.
And well in time for Thanksgiving, too. 🙂
I’ve made this pie using frozen cherries and using frozen blueberries, and Jocelyn assures me any berries should work just fine. You don’t even have to chill the palm-shortening crust.
But really. Pie. It sells itself, doesn’t it? Paleo pie.
Paleo Berry Pie
Yield: 1 9-inch pie
Ingredients:
for the crust (top and bottom):
- 1 cup tapioca starch
- 1 cup paleo dough mix
- 1 tsp salt
- 2/3 cup palm shortening
- 1/2 cup cold water
for the filling:
- 5 cups berries (blueberries, pitted cherries, fresh or frozen, as you like)
- 1/8 tsp salt
- 5 T tapioca starch
- 1/4 tsp locust bean gum
- 1/2 tsp cinnamon
- 1/2 T lemon juice
- 1/2 T liquid stevia extract
1. Measure your berries into a medium saucepan on medium heat. Stir periodically, scraping the bottom, until the berries have released plenty of juice. While the berries are warming up / releasing juice, whisk together the salt, tapioca starch, locust bean gum, and cinnamon in a small mixing bowl.
2. Once the berries have released plenty of juice, first add the lemon juice and stevia extract to the saucepan and mix in; then, add the dry mixture and stir together until combined. Keep cooking the filling on medium heat, stirring often, until it thickens — this won’t take long at all.
3. Once the filling thickens, remove from heat and set aside to cool in the saucepan. Start the oven preheating to 375 degrees Fahrenheit.
4. Time to make the pastry shells. In a large mixing bowl, whisk together the tapioca starch, paleo dough mix, and salt; then, use a pastry cutter to cut in the palm shortening until very crumbly. Add the cold water, then use a fork to combine the dough. It won’t come together completely on its own this way, but that’s okay; use your hands to work most of it together in the mixing bowl, then turn it out onto the countertop and work the rest together there. Be patient; it will combine.
5. Divide the dough in half. Dust a square of wax paper and a large rolling pin with tapioca starch, and roll out half the dough in the closest approximation of a circle you can manage. You’ll want to redust the rolling pin occasionally but you shouldn’t need to too often. Dust your pie plate lightly with tapioca starch, too, then put it face-down over the dough circle to check if it’s big enough; the dough should extend a good 1 – 2 1/2 inches past the edges of the pie plate.
6. Put one hand under the wax paper, in the middle, and use the other to hold the pie plate face down against the dough; flip them over together and gently press the dough into the pie plate. Then gently peel the wax paper off the dough. Don’t panic if there are cracks in the dough; you can heal these easily by smushing them back together with your fingers. You can also very easily take extra pieces of the dough trimmed off the sides to fill in spots that are short elsewhere on the edge.
7. Roll out the second half of the dough in the same way. Fill the bottom crust with the cooled filling, then use the same flip-the-wax-paper-over trick to center the second dough circle over the filled pie. Before you peel the wax paper away, seal the two crusts together all around the edges the pan by pressing with your fingers.
8. Cut a few slits in the top crust to let steam escape, then put the assembled pie in the preheated oven to bake for 50 minutes.
9. Take your pie out of the oven and serve it up. 🙂 I like to top my piece with a dollop of stevia-sweetened Greek yogurt in lieu of whipped cream!


Leave a Reply