


Okay, okay. So you have to bake the crust. But you don’t have to bake the filling. 🙂
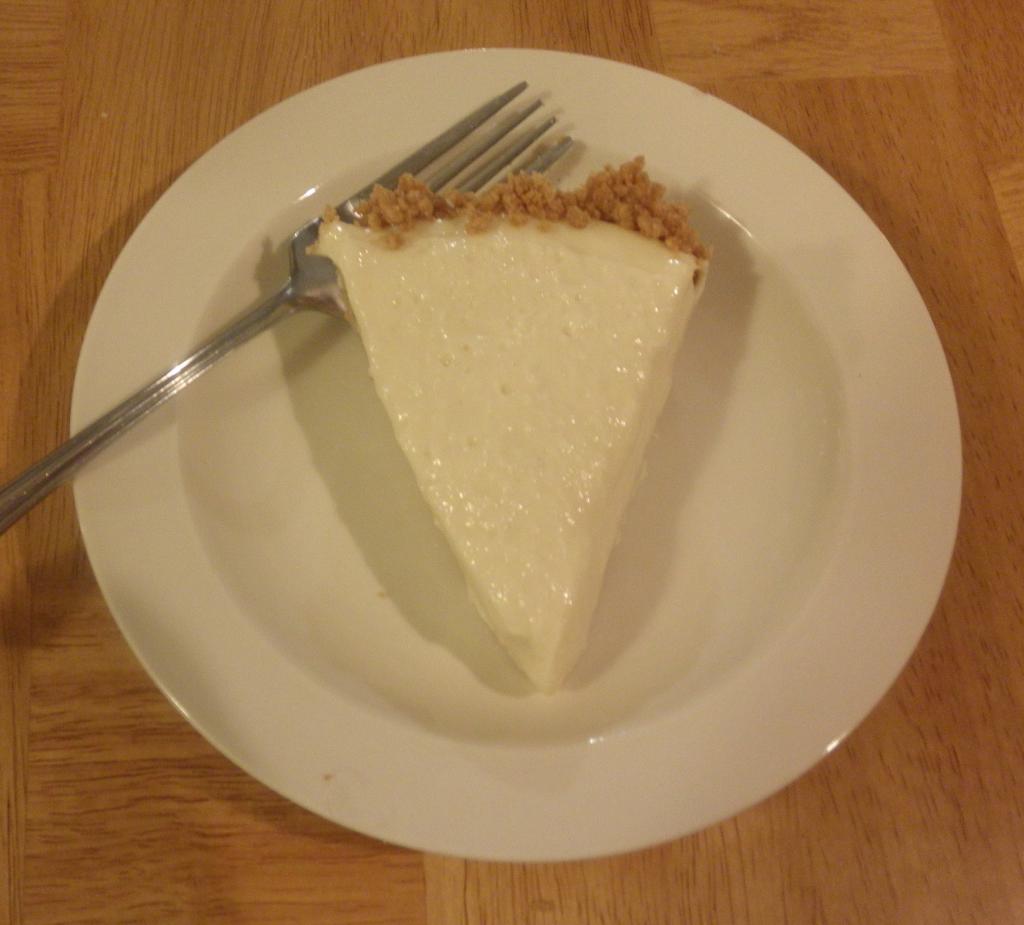
I know this isn’t a very Good Friday post, but we’re making it today to eat tomorrow, so you could do the same, I guess. 🙂 My mom says this dessert is more like Boston cream pie than cheesecake; my friend Tim says it’s more like European cheesecake than American. Either way, it’s light, sweet, and creamy, so if that sounds good to you, well, here you go. 🙂
The recipe was originally my grandmother’s, and she called it cherry cheesecake and topped it with cherry pie filling once the cheesecake had set. Which is delicious. You could use any other berry pie filling just as well — blueberry, blackberry, raspberry. 🙂 Or it’s plenty good with no topping at all.
You want to start early in the day or the day before, since the crust takes time overall, the cream cheese needs to soften, and the cheesecake itself needs time to set.
No-Bake Cheesecake
Yield: 1 9″ pie
Ingredients:
For the graham cracker crust:
For the filling:
- 1 can sweetened condensed milk
- 8 oz (1 package) cream cheese, softened
- 1/3 cup lemon juice
- 1 tsp vanilla
- 1 can cherry pie filling or other pie filling (optional)
Directions:
1. First, early in the day, set the cream cheese out to soften. If you haven’t already, bake some graham crackers to make crumbs out of — I go into my recipe / adaptation here, and the original recipe can be found here. Feed a few crackers at a time into a food processor till you have a cup of fine crumbs, without ary large pieces left.
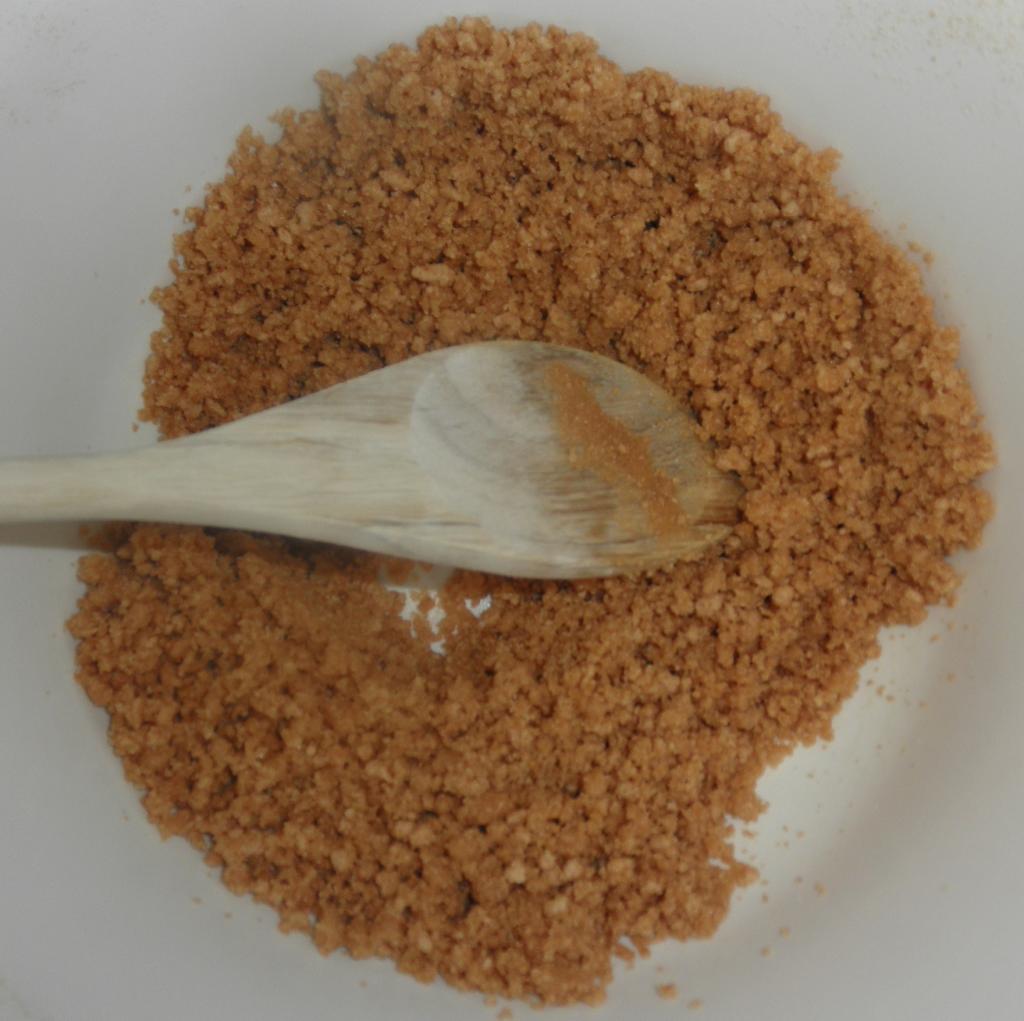
2. Whisk the crumbs and sugar together in a bowl, then pour in the melted butter and whisk again till well combined, like so:
3. Generously grease a 9″ pie pan. Take small handfuls of the warm crumble and gently press it in a thin layer around the sides, then bottom of the pan. (I do the sides first because I find it’s too easy to make the bottom too thick otherwise; leaving the bottom till last avoids over-thick corners, or having to redo the bottom to make sure you have enough for the sides.)
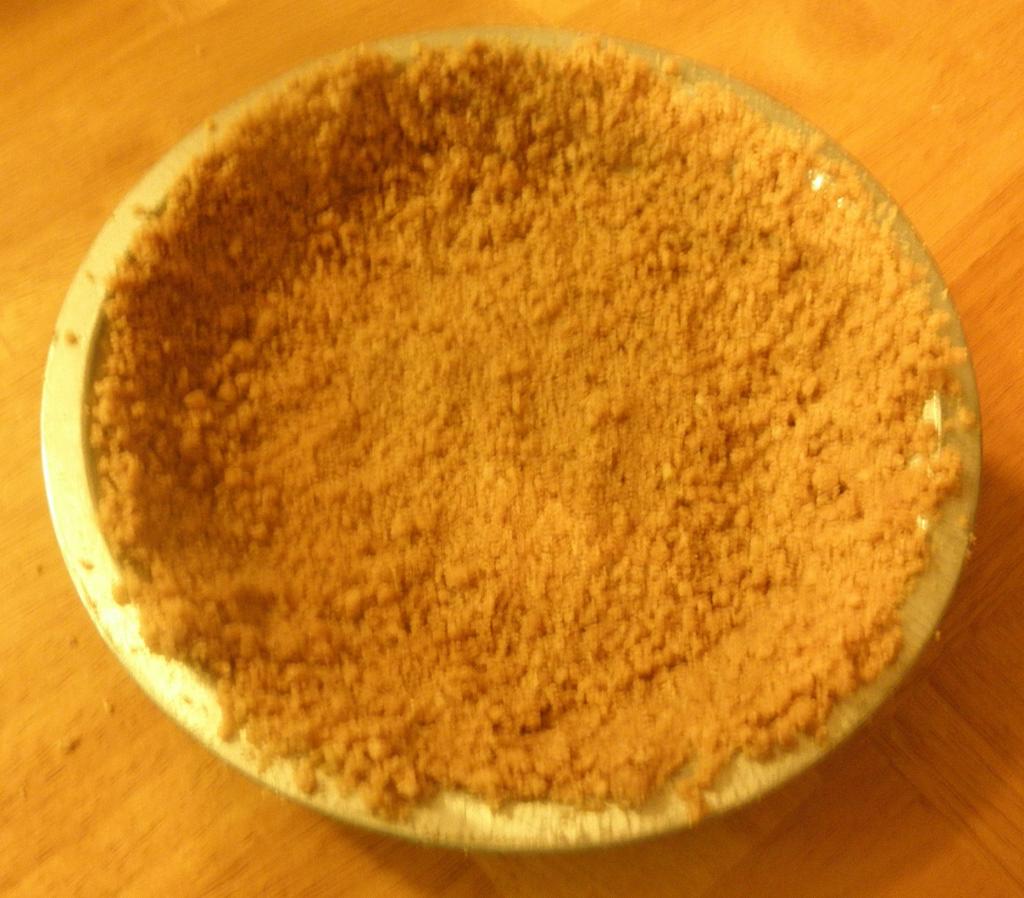
4. Put the crust in the fridge for an hour to cool and set. This is a great tip I found online somewhere that helps the crust stay together when cut later on. 🙂
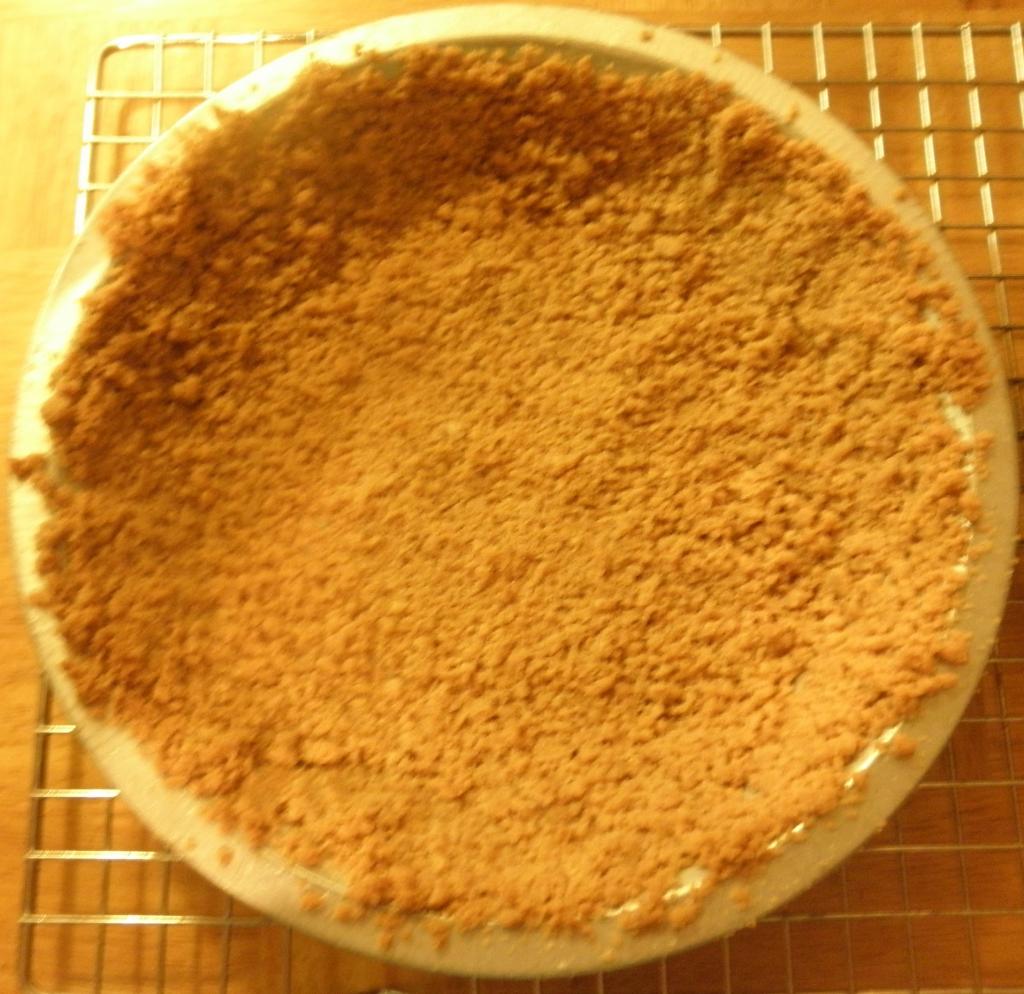
5. When the crust is about ready, preheat the oven to 400 degrees Farenheit, for 6-8 minutes. You want it to just brown and crisp, but you need to watch it like a hawk — let it go too long, and it burns easily. Since the baking time is so short, you might just stay in the kitchen and keep a nose and an eye on it as it bakes. Let cool completely once it’s done.
6. While the crust cools, get your stand mixer out and use the paddle or whisk attachments to blend together all the filling ingredients. (If the cream cheese isn’t as soft as you’d like, you can make up for it by using an immersion blender to force it to integrate into the mixture. It’s okay if it’s still a tiny bit lumpy; that’ll take care of itself once it sets.
7. Pour the filling into the completely cooled crust, cover gently with plastic wrap, and put it in the fridge to set. Wait at least an hour or two before adding any toppings, and at least four or five hours before serving. I like to leave it overnight, just to be on the safe side.
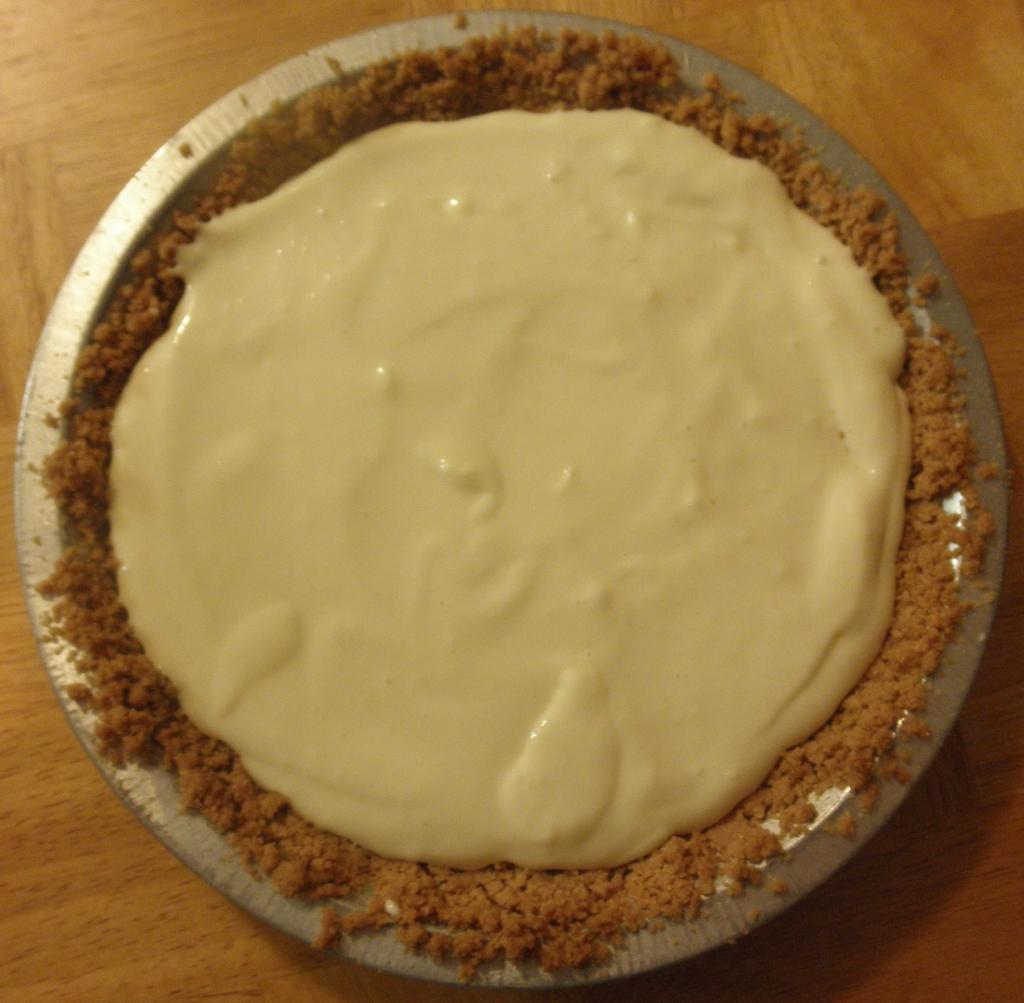
8. Slice and serve! 🙂


Leave a Reply